

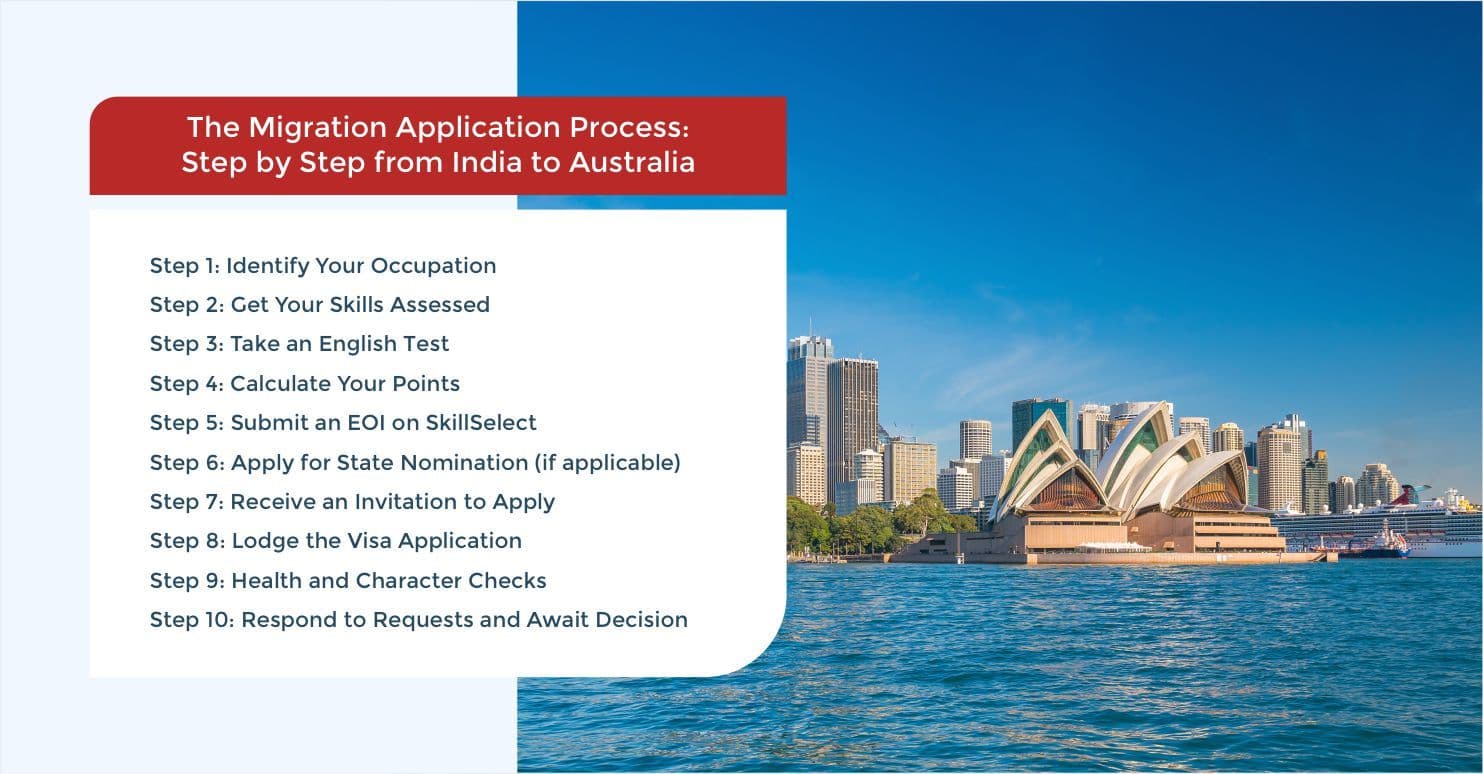
The skilled migration application process from India involves multiple sequential steps. Each step must be completed before the next can begin in most cases.
Step 1: Identify Your OccupationConfirm that your occupation is on the MLTSSL or the relevant skilled occupation list. The ANZSCO (Australian and New Zealand Standard Classification of Occupations) code for your occupation determines which assessing body handles your assessment and which visa subclasses are available to you.Use the Department of Home Affairs' official occupation list tool to check. Some occupations appear on multiple lists, which gives more flexibility.Step 2: Get Your Skills AssessedApply to the relevant skills assessing body. Submit your qualification documents (original degree certificates, transcripts, mark sheets), employment evidence (offer letters, experience letters, pay slips, tax documents), and pay the assessment fee.Allow 8 to 16 weeks for the assessment outcome. Prepare your documentation thoroughly incomplete submissions are a common reason for delays.Step 3: Take an English TestBook and sit an accepted English language test (IELTS, PTE Academic, TOEFL iBT, OET, or Cambridge C1 Advanced). Schedule this step well in advance of your target application date since test sittings are limited and results take time.If your first attempt does not achieve the required score, you can retake the test. Use the higher of your valid scores.Step 4: Calculate Your PointsUsing the official points calculator on the Department of Home Affairs website, estimate your total score. Be conservative do not include points you are not confident about or have not yet earned.If your score is below 65, review what can be improved (English score, Professional Year, regional connections, partner skills).Step 5: Submit an EOI on SkillSelectCreate an account on the SkillSelect portal and submit your Expression of Interest. Include your occupation, points claims, and visa subclass preferences (189, 190, 491). You can nominate multiple states/territories in your EOI.Update your EOI if your circumstances change higher English test scores, new work experience, or a Professional Year completion will increase your points.Step 6: Apply for State Nomination (if applicable)If you are targeting a 190 or 491 visa, submit a state nomination application through the relevant state's portal. Prepare state-specific documentation as required. Most states require a completed EOI before a nomination application can be submitted.State nomination processing times vary from a few weeks to several months. Some states send invitations to EOI holders (rather than accepting direct applications), so you may need to wait.Step 7: Receive an Invitation to ApplyOnce invited by the Department of Home Affairs (or by a state/territory), you have 60 days to submit a full visa application. This deadline is strict. Do not wait for the invitation before preparing your documents.Step 8: Lodge the Visa ApplicationSubmit the visa application through ImmiAccount (the Department of Home Affairs' online portal). Pay the application fee at the time of lodgement. Attach all required documents.Step 9: Health and Character ChecksYou will be asked to complete:
