
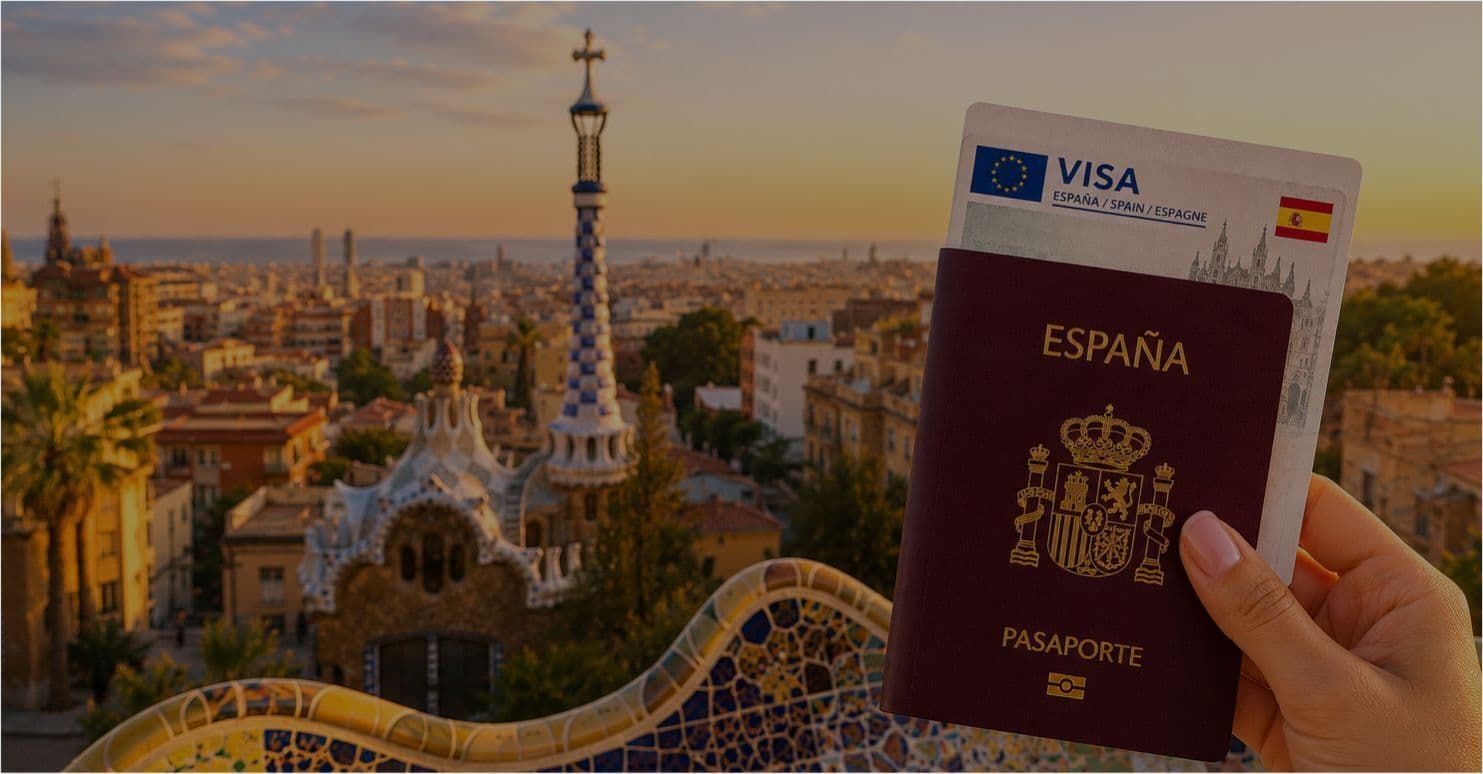
You've landed. The flight is done, your neck pillow is somewhere in your bag, and you're finally in Spain. But before you step out of the airport, there's a small process you need to get through first. It's straightforward, but knowing what to expect makes it a lot less confusing. This is what happens after your flight lands.
Since you are arriving from India, you will be arriving from a non-Schengen country and must pass through passport control before doing anything else. Look for signs saying "Control de Passportes" or "All Passports" (do not queue in the EU/EEA lanes).
Have your passport open to your visa page. While it’s rare, border officers can occasionally ask to see your return flight ticket, hotel bookings, or proof of travel insurance. Keep these handy in your cabin baggage or on your phone offline.
With the rollout of EES in April 2026, on your first entry, you will no longer get a passport stamp. Instead, you'll undergo a biometric registration at the airport kiosk, where you’ll undergo facial and fingerprint scan. It takes about 5-10 minutes extra time for each person.
Once through immigration, follow the signs for "Recogida de Equipajes" (Baggage Reclaim). Look at the overhead monitors to find your flight number and its corresponding conveyor belt.
Walk through the customs area "Aduana". If you have nothing to declare, walk through the Green Channel "Nada que declarar". If you have something to declare, walk through the Red Channel "Mercancías que declarar".
Also, Spain has strict rules on bringing in food items from outside the EU. Do not carry loose dairy, meat products, or large quantities of seeds/plants, as they can be confiscated. This includes items commonly packed by Indian travellers such as homemade snacks, mithai, pickles, and certain dried spices.
Important: If you are carrying more than €10,000 in cash (or equivalent), you must declare it.
Do not leave the airport without a way to access Google Maps or translation apps. You have two main options:
Tip: Avoid generic souvenir tech kiosks, as they tend to overcharge. A local prepaid SIM with plenty of data usually costs around €15-€20.
You can pay for almost everything using a credit/debit card or forex card in Spain. However, keeping €20-€50 in cash is smart for emergencies. If you have a travel-friendly forex card such as Niyo Global or a BookMyForex card, these work well at most Spanish ATMs and mostly offer better conversion rates than standard Indian debit cards.
If you need cash at the airport, use a bank ATM inside the terminal rather than currency exchange counters like Global Exchange, as they have terrible conversion rates. Also, when withdrawing, always select "Without Conversion" / "Debited in Euros" if the machine asks. This makes sure that your Indian bank does the currency conversion, saving you massive dynamic currency conversion fees.
Do not accept rides from random people offering taxis in the arrivals hall. Follow the official signs for transport. Spain has a great connectivity of taxis, metro, and trains.
Although the country is generally very safe, its major airport arrival halls and train stations are
hotspots for highly skilled pickpockets. Keep your passport, cash, and phone inside a zipped bag close to your body, and never leave your luggage unattended while buying a transit ticket or a SIM card.We have researched and prepared a list of some popular apps below, that can help simplify your overall stay in Spain:
| App Name | What it Offers |
| Renfe | The official Spanish railway app. Use it for high-speed AVE tickets between cities |
| Cabify | Spain’s version of Uber. It is much cleaner and more professional than standard taxis. |
| Free Now | Perfect for hailing official city taxis. It gives you a fixed price so you don't have to worry about the meter running high. |
| Citymapper | While Google Maps is okay, Citymapper is the king of public transport in Madrid and Barcelona. |
| Glovo | Spain’s primary delivery app (like Swiggy/Zomato). |
| DeepL | While Google Translate is good, DeepL is significantly more accurate for European Spanish nuances. |
| AlertCops | The official security app for citizens. It has an SOS button that sends your location directly to the nearest police station. |
| Airalo or Holafly | Since you're coming from India, these apps allow you to buy an eSIM before you land. |
If you're on a tourist or short-stay visa, you're good to go from here. But if you've moved to Spain on a long-stay visa, there's a bit more to handle once you're out of the airport.
The list of important things to do doesn't end when you come out of the airport. There are still a few things that you have to take care of, for a smooth arrival in this new country. The Spanish bureaucracy can feel a bit confusing when you first land, but following these steps in order can make things easier for you.
Registering at the Local Town Hall (Ayuntamiento)
Before you can get your actual residency card, Spain needs to know exactly where you are staying. This process is called Empadronamiento. As soon as you sign a long-term rental contract for an apartment or room, you need to book an appointment at your local Ayuntamiento. You have to carry your passport, your rental agreement, and a utility bill to prove where you live. They will hand you a certificate called a Volante de Empadronamiento, which is officially recognized proof of your Spanish address and is required for almost every official process.
Get your NIE and Open a Bank Account
Your NIE (Número de Identidad de Extranjero) is basically your tax identification number in Spain. It's not a physical card on its own, it's just a number, and is required for all transactions, like opening a bank account, signing a rental contract, buying property, setting up utilities (like internet or electricity), getting a mobile phone contract, registering for social security, or starting a job.
You can either apply for it from India through the consular office or upon your arrival in Spain through the foreigner’s office or certain police stations. It’s advised to apply for it as soon as possible, within 2-3 weeks of your arrival.
Note: If you are an Indian on a Digital Nomad Visa, applying and receiving the NIE certificate is already a part of the application process.
Once you have this number, your very next step should be to walk into a local Spanish bank and open a regular bank account, as you will need it to pay for your phone bill, rent, and future official government fees.
Apply for Your TIE
While the NIE is just a number, the TIE (Tarjeta de Identidad de Extranjero) is your actual, physical plastic residency card complete with your photo and fingerprint, and it's the most important document you'll need as a long-stay resident in Spain. By law, you are supposed to start this process within your first 30 days of arriving in Spain.
You will need to book an online appointment at your local immigration office or National Police station, pay a small government tax at the bank, and bring your passport, your visa, photos, and that address registration paper you just got from the town hall. After they take your fingerprints, it takes about a month for your physical card to be printed and ready for pickup.
Register with Social Security
If you are moving to Spain to work, intern, or if you are a digital nomad, you must get a Social Security Number (Número de Afiliación a la Seguridad Social). If you are employed by a Spanish company, your HR department will usually handle this for you. But if you are self-employed or doing it yourself, you will need to register online through the official Spanish government app for Social Security registration Importaas using your NIE and passport. Getting this number is a must because it officially registers you to pay taxes and, most importantly, gives you access to Spain’s fantastic public healthcare system.
Also Read Our Guide for Canadians Moving To Spain
Spain is one of the most rewarding countries an Indian traveller can visit, or move to. The weather, the culture, the food, the quality of life, it delivers on every front. But between hunting for appointment slots that disappear in seconds, gathering documents that nobody told you about, figuring out which BLS centre to go to, and then waiting nervously for your passport to come back - it can feel like a lot.
Almost every Indian traveller going through this process has had at least one moment of "why is this so complicated?”
The honest truth is just that the system isn't very forgiving of mistakes, not even minor ones. And since appointments are so hard to come by in the first place, you really don't want to go in underprepared.That's exactly why we created this guide, keeping all of your doubts and questions in mind.
Good luck, and enjoy Spain when you get there!

